How to Apply False Lashes when you're working as a Makeup Artist
False lashes can be a great way to add drama and glamour to your eyes. They can be used for any occasion, from a night out on the town to a special event.
Here's a step-by-step guide on how to apply false lashes:
Prep your lashes. Start by curling your natural lashes. This will help the false lashes to blend in better.
Measure the false lashes. Hold the false lashes up to your client’s eye and make sure they are the right size. If they are too long, you can trim them with a pair of scissors. Always trim from the outer corner of the lash, not the inner corner.
Apply glue to the false lashes. Apply a thin line of glue to the band of the false lashes. Be sure to let the glue dry for a few seconds before applying the lashes.
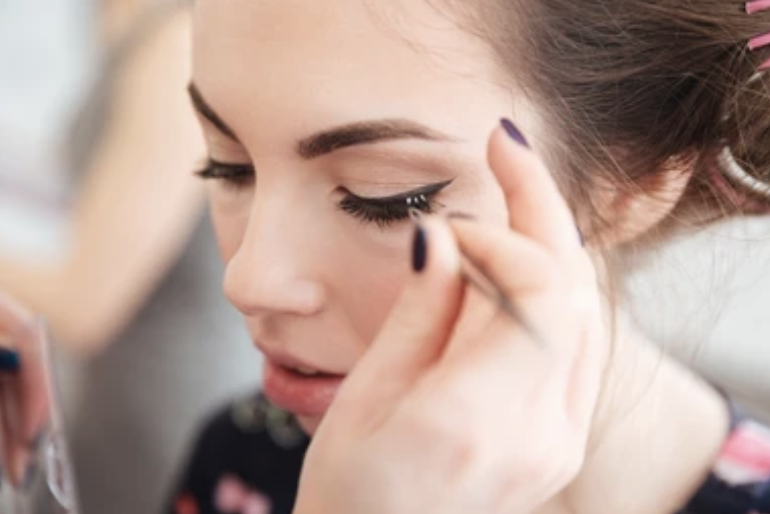
Apply the false lashes. Carefully place the false lashes on the clients natural lashes, starting from the outer corner of the eye and working your way in. Make sure the false lashes are aligned with their natural lashes.
Press the false lashes down. Use your fingers to press the false lashes down firmly onto their natural lashes.
Trim any excess glue. If any glue has seeped out from under the false lashes, use a small brush to gently brush it away.
Apply mascara. Apply mascara to your top and bottom lashes to help blend the false lashes in with their natural lashes.
Here are a few tips for applying false lashes:
Use a good quality glue. A good quality glue will help the false lashes to stay in place all day long.
Apply the glue sparingly. Too much glue can make the false lashes look bulky and unnatural.
Be patient. It may take a few tries to get the hang of applying false lashes. Don't get discouraged if you don't get it right the first time.
With a little practice, you'll be able to apply false lashes like a pro!